How to create a custom dialog in React to show before user leave
This story is kind of story and tutorial mix. It consist following parts:
- Why we need to compress images?
- What leads to me this?
- How I did it?
So without delay let’s get started. WHY,WHAT AND HOW :-)
Why we need to compress images?
This tutorial is not about why we need to compress images. There are already ton of good resources over the internet of this. In summary:
- Large images slow down your web pages which creates a bad user experience.(no one want to wait)
- Large image files slow down your site and search engine hates slow sites(it leads to bad SEO)
- Large images required high bandwidth
- Uncompressed images bloat your pages with unnecessary bytes
That’s it there is a lot more information about this. But there is no point of explaining here. You can find all this information on this internet.
What leads to me this?
Whenever I am doing my personal project or in my organisation. I need to organise my images and have to go to manually some compressing site and then convert it into compressed one and replaced. My lead asked me one day why don’t we automate this stuff. I don’t find any good source or anything to automate this. So I thought It’s worth sharing also.
Note: There are already 3 party services which done this for you. But again you have to buy that service. This tutorial is all about automating compression using hooks.
How I did it?
This is the interesting part. Let’s start it. Initially the images size is this:
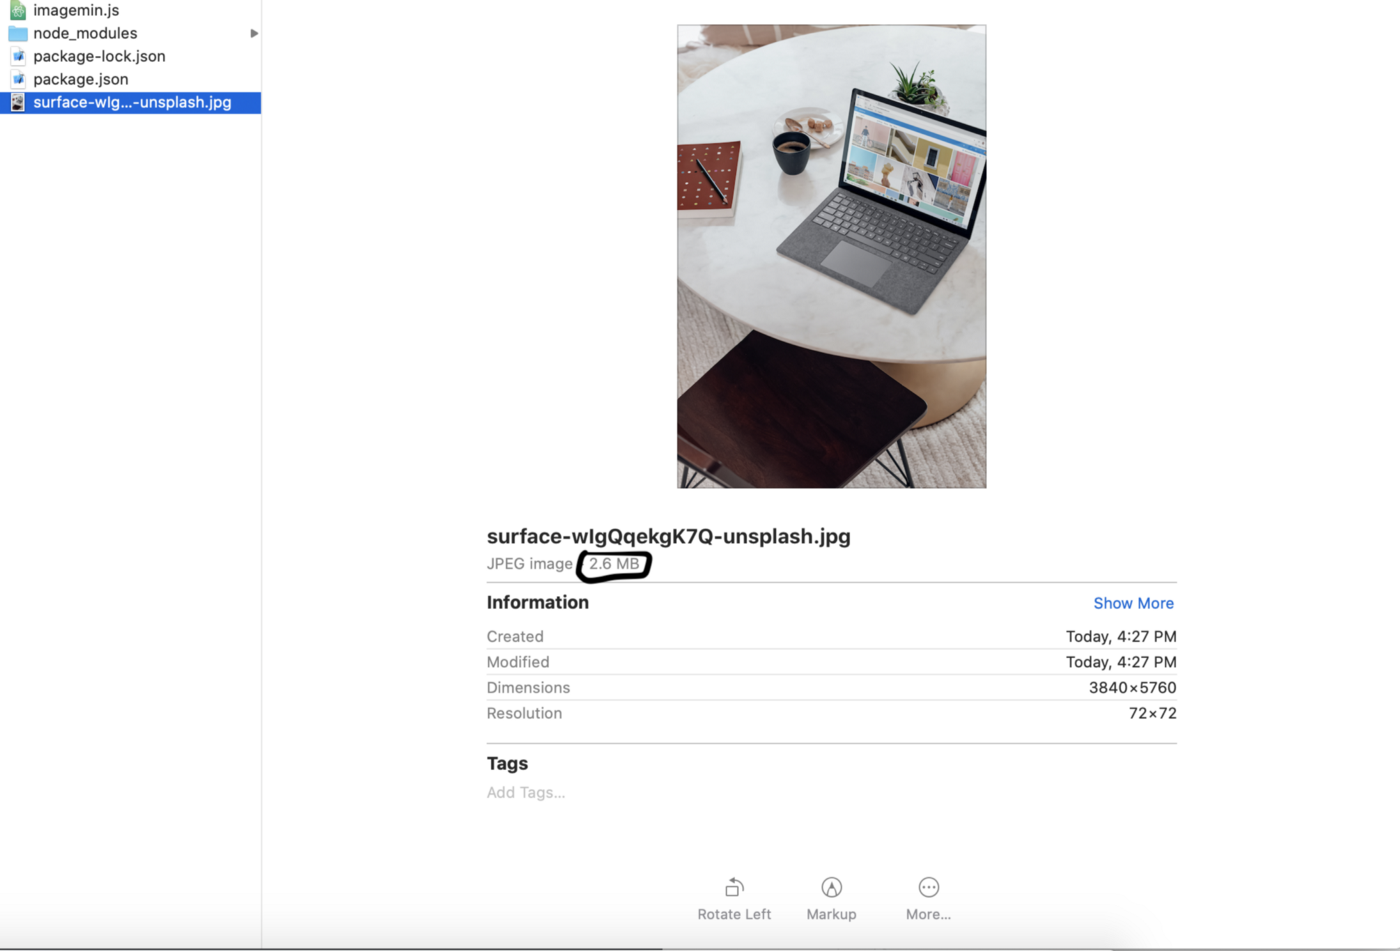
Note: I took this image for demo purpose only
So for automating this stuff I use husky(for git hooks) and lint-staged.
- Husky is good npm package for using git hooks in better way.
- lint-staged is a linter that run for your staging file (its like a code you want to run for staging file like beautify your code, check unused code or malicious code etc.)
For compression of images i use sharp (it’s open source). If you have this question why this package why not other package there are so many good packages. I totally agree with this. But all this question is already answered sharp. You can check its performance guide. It’s already giving answer to those question.
Solution
After exploring more on google and StackOverflow came to know about react-router provide history prop which can be utilized for that requirement. Then I started trying implementing it after going through their docs. And it was easy as I thought.
So basically you need to follow these steps to do that:
-
Create your dialog component
-
From wherever you want to block your route. Use history.block on the component mount (This will block your navigation)
componentDidMount(){ const {history} = this.props; this.unblock = history.block(tx => { // Navigation was blocked! Let's show a confirmation dialog // so the user can decide if they actually want to navigate // away and discard changes they've made in the current page. this.url = tx.location.pathname; }); } -
Since
history.blockgives you a callback that means you can unblock navigation by executing thatmySomeRandomFunction(){ const {history} = this.props; this.unblock(); //If condition is satisfied } -
So once criteria are satisfied unblock that route. That’s it you have to do only that
-
So once criteria are satisfied unblock that route. That’s it you have to do only that
Last but not the least (DEMO)
Caveat
According to history documentation:
history.block will call your callback for all in-page navigation attempts, but
for navigation that reloads the page (e.g. the refresh button or a link that
doesn’t use history.push) it registers a beforeunload
handler
to prevent the navigation. In modern browsers you are not able to customize this
dialog
Keep above thing in mind i.e it wont work if page is reload it only work if you try to change some action in page